Think Outside the Box
- Ashley Jager
- Jan 20, 2023
- 2 min read

Working with clay is magical! The process develops character, teamwork, problem solving, and pride. Ceramics is both challenging and uniquely therapeutic with so many possibilities to create. My high school students used the slab-building technique to create personal containers for the "Think Outside the Box" project. They had so much great artwork coming out right around the holiday season that I felt all their hard work still deserved a shout-out to our followers!

One of the fundamental techniques of clay construction is slab-building. My students learned to roll slabs that could be used to cut out handmade stencils for their boxes.


STEP 1: It's Hip to be a Square!
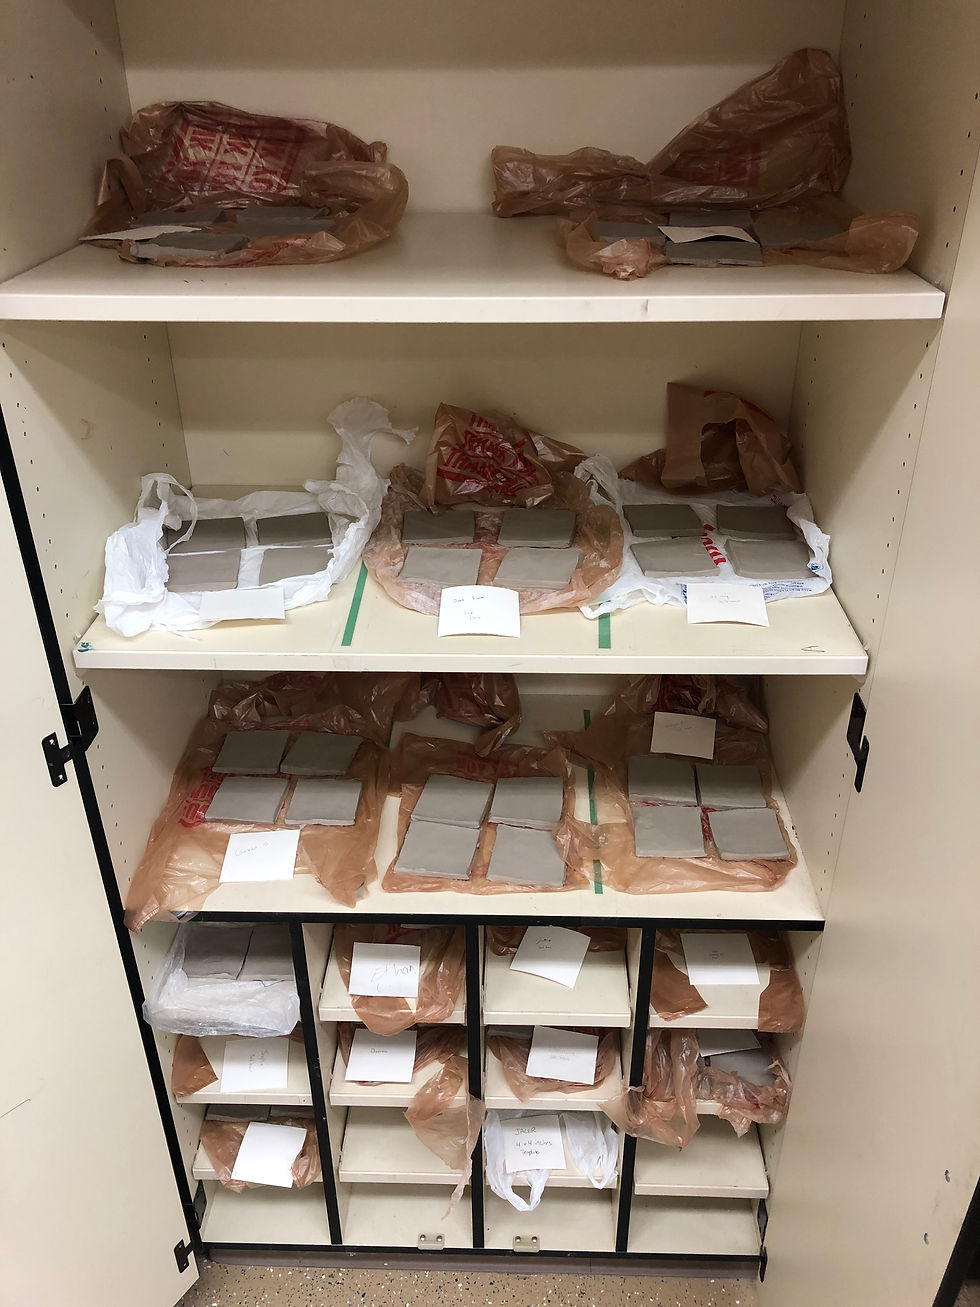
Students needed to measure a square template that would create the base, sides, and lid of their box. These pieces were cut from an evenly rolled piece of clay that was about the width of a pencil called a slab.
Each of these sections were made in a carefully managed drying process with uncovered sections of soft clay slightly hardening throughout the day so they would be stable enough to stand on their own during the assembly process.

STEP 2: Slip, Score, & Smooth
While the sections of their boxes were left uncovered for a few hours each day, they were tightly wrapped overnight to avoid becoming completely bone dry. The clay had to be at just the right moisture level to have consistent stability when attaching the sides to the base.

This step of clay construction is a delicate one as mishaps can lead to collapsing walls. My students were engaged in the process and often relied on each other for support as they transformed flat pieces of clay into three-dimensional structures.


STEP 3: A Cube becomes a Container
Once all sections were blended together as a hollow cube, my students designed how the lid would separate from the rest of the box. They sliced a line roughly two-thirds up from the bottom that served as a puzzle piece for the lid to connect to.


When the lid was separated from the box, these two halves had to be blended on the inside and outside to smooth the edges. This was a good checkpoint to see if their box had a good design for functional use.


STEP 4: Think Outside the Box!
My students had to not only consider how the box fit together but also create a unique texture on the surface of the clay. This could be done with a specific theme or a decorative design by carving or adding three-dimensional features. I love how the boxes transformed from simple square templates to each person's individual artistic style.
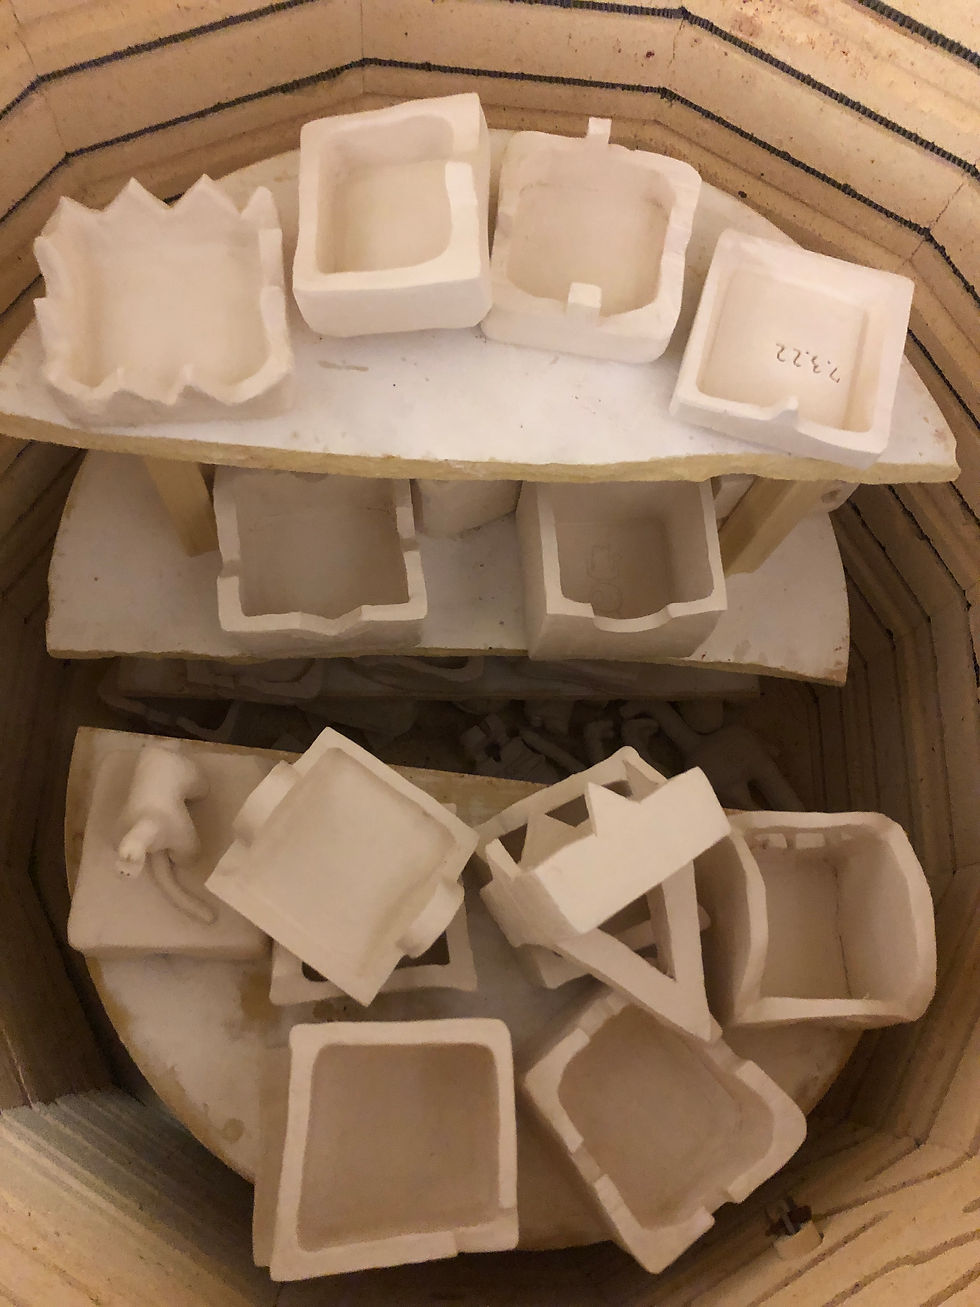
Finally, it was time to glaze their boxes after the bisque firing during the last few days of the unit!

My high school students have had a couple years of experience in Ceramics with me as their art teacher so it is exciting to see how they will choose to experiment with the color combinations and application techniques. Opening up the kiln the next day is always a delightful surprise!


My students were brave enough to take creative risks and stretch themselves with a new technique in slab construction. These boxes glitter and shine like stars, reflecting the amazing people who made them!
“Be yourself; everyone else is taken.”
-Oscar Wilde


Comments