

Carving Ceramic Lanterns
- Ashley Jager
- Jan 29, 2021
- 3 min read


A lantern can illuminate a room with striking shapes that seem to glow against a backdrop of shadows. Lanterns have universal symbolism across cultures but also create a welcoming atmosphere by displaying light to enhance the ambience of a space. In Japan, large, stone lamps, called Ishidoro, light shrines, teahouses, and gardens as well as the intricately decorated metal lanterns, called Tsuridōrō, that hang from pagodas and palaces. These lanterns serve a functional purpose with spiritual significance but are also beautiful works of art to admire in their environments.


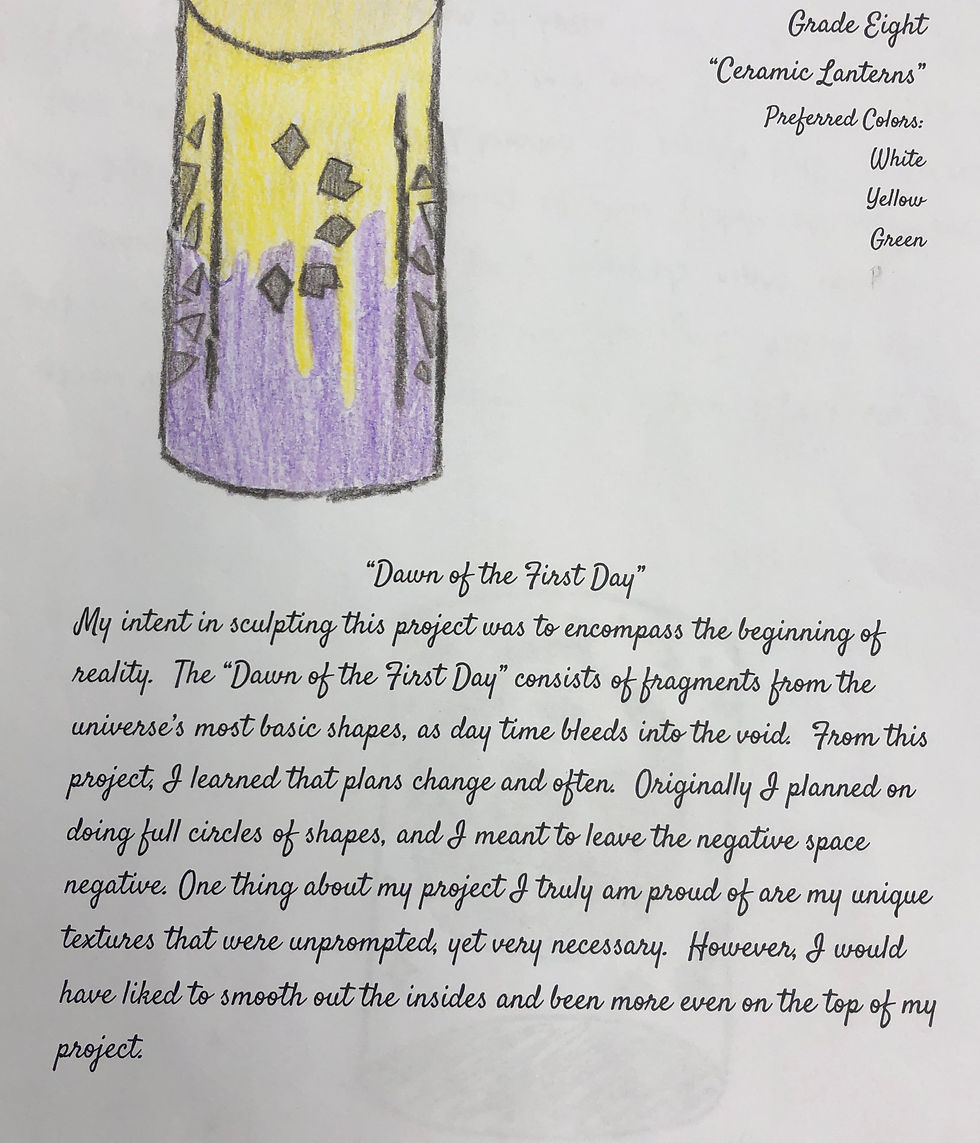
In preparation for their clay project, 8th grade artists researched examples of ceramic luminaries as they drafted their own versions of lanterns. They needed to consider how all sides of the lantern would work together as a whole while demonstrating positive shapes cut from the negative space of the walls.


Hand-building a lantern involves learning fundamental construction techniques that are essential for skill development in Ceramics.
Step 1: Fold a paper template to determine the size of your lantern.


Step 2: Wedge the clay to remove air pockets. Trapped air expands as it heats up and pushes out against the clay causing it to explode in the kiln. (Wedging clay can be difficult for students who haven't kneaded dough before, but it is a critical step!)


Step 3: Roll out a thin piece of clay, known as a slab, that is roughly the width of a pencil. This flat piece of clay will be used to trace out the template for the lantern.


We wrapped the slabs in plastic to toughen overnight before standing them up on their sides the next day to blend together in the form of cylinders.
Step 4: "Slip-and-Score" the ends of the slab that will meet together like velcro by cross-hatching scored marks into clay and coating the area with watery clay known as "slip." Blend away the seem by smoothing the clay together. Then, roll out the extra clay into another slab for the lantern base.


Step 5: Draw or trace the lantern design from the template onto the cylinder using a pencil. Smear away any mistakes to re-draw, if necessary.


The students progressed along this sequence of steps over a span of days, wrapping the clay at the end of each class period to keep it from becoming bone dry. As time passed, the lanterns gradually toughened-up to a leather-hard stage allowing it to be more easily carved into the walls without collapsing.
Step 6: Carving! Using plastic knives and wooden tools, the designs were cut out from the lantern walls along with fine details scratched into the surface for texture.


Step 7: Finishing touches: Smooth the clay!
Unlike carving Jack-O-Lanterns, each removed piece from the cylinder needed to be smoothed along the edges of the interior and exterior so that little pieces of clay did not dry out as sharp flecks of clay.


The final steps include allowing the lanterns to fully dry out to a bone-dry stage so that they can be bisque fired and glazed in the kiln.

We took some time to reflect on the process as a class by walking around the tables looking at the final projects on a "gallery walk." Students shared compliments during a class critique on who had improved the most over the process, carved with incredible detail, or thought "outside-the-box" with their lantern designs. Each person then developed a written artist statement to explain their piece and the lantern process. The projects were completed successfully with students developing a greater appreciation for the time and effort that goes into building a hand made lantern.


Comments